
How to Make Laminated Print and Cut Bookmarks
For this tutorial, I am using my “Every Book is a Portal to Another Realm” print and cut bookmark design, however, you can use these same steps with any print and cut bookmark design.
Get the design from my Etsy Shop.
Supplies
White cardstock sized for your printer (8.5x11 or A4), heavy weight cover stock is recommended
Color printer
Cutting machine with print and cut feature (Silhouette, Cricut, Siser, etc.)
Scissors, rotary cutter and ruler, or paper cutter
Corner rounder punch
Standard single hole punch
Laminating Option (choose one)
Thermal Laminating
Thermal laminating machine - Buy on Amazon
Thermal laminating pouches (3 mil) - Buy on Amazon
Cold Laminating (great if you don’t already have a laminating machine)
Adhesive laminating pouches - Buy on Amazon
Bookmark tassels or ribbon
Bookmark tassels - Buy on Amazon
Steps
Print and cut your bookmark design.
If you need help with the print and cut feature on your machine, I have tutorials on my YouTube channel:
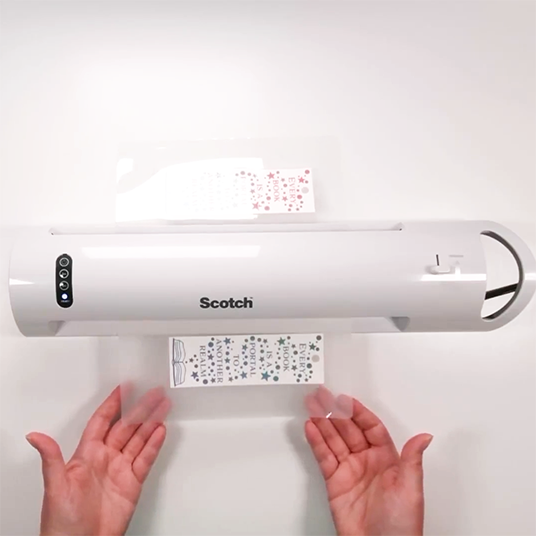
Laminate your cut bookmarks.
Tip: If you are using a thermal laminator, run the sheet through twice to make sure you get good adhesion.
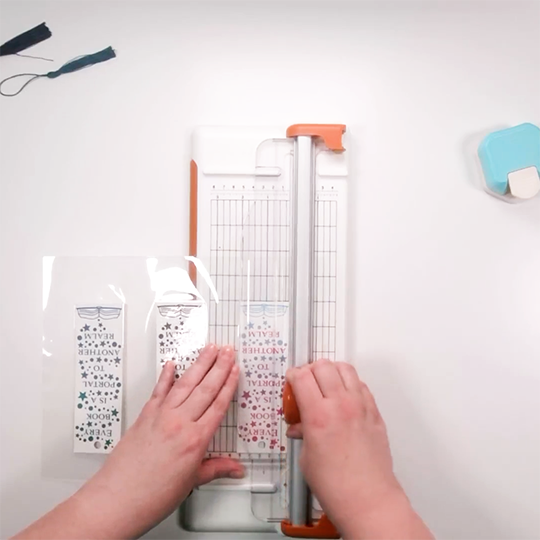
Use scissors, a rotatory cutter and ruler, or paper cutting machine cut apart the bookmarks. Leave a small border of laminated area around the bookmark to ensure it stays nice a sealed.
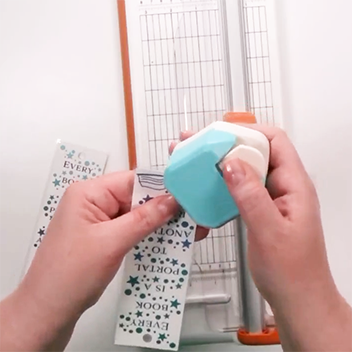
Round the corners with a punch. (Pointy laminated corners are sharp!)
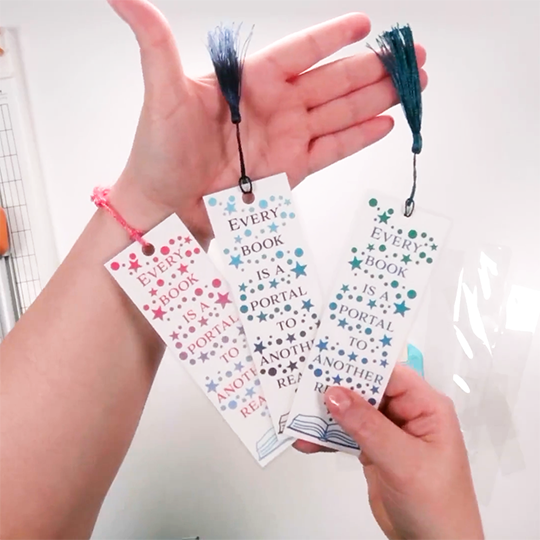
Attach ribbon or a bookmark tassel through the hole at the top.
Some links in this post may be affiliate links. This means I may earn a small commission at no extra cost to you. I only share tools I genuinely use and love.