
Thankful Shadowbox Card Assembly

Supplies
Don’t have this design yet? Get it on Etsy or the Silhouette Design Store.
Smooth white cardstock (for the inside)
Off-white cardstock
Brown cardstock
Orange cardstock
Yellow-orange cardstock
Light green cardstock
Dark green cardstock
Glue
Double-sided foam tape (narrow)
I used Encore textured cardstock from 12×12 Cardstock Shop for this card in the following colors:
Green Tomato
Dark Olive
Butternut
Pumpkin Pie
Maple Syrup
Linen
Assembly Steps
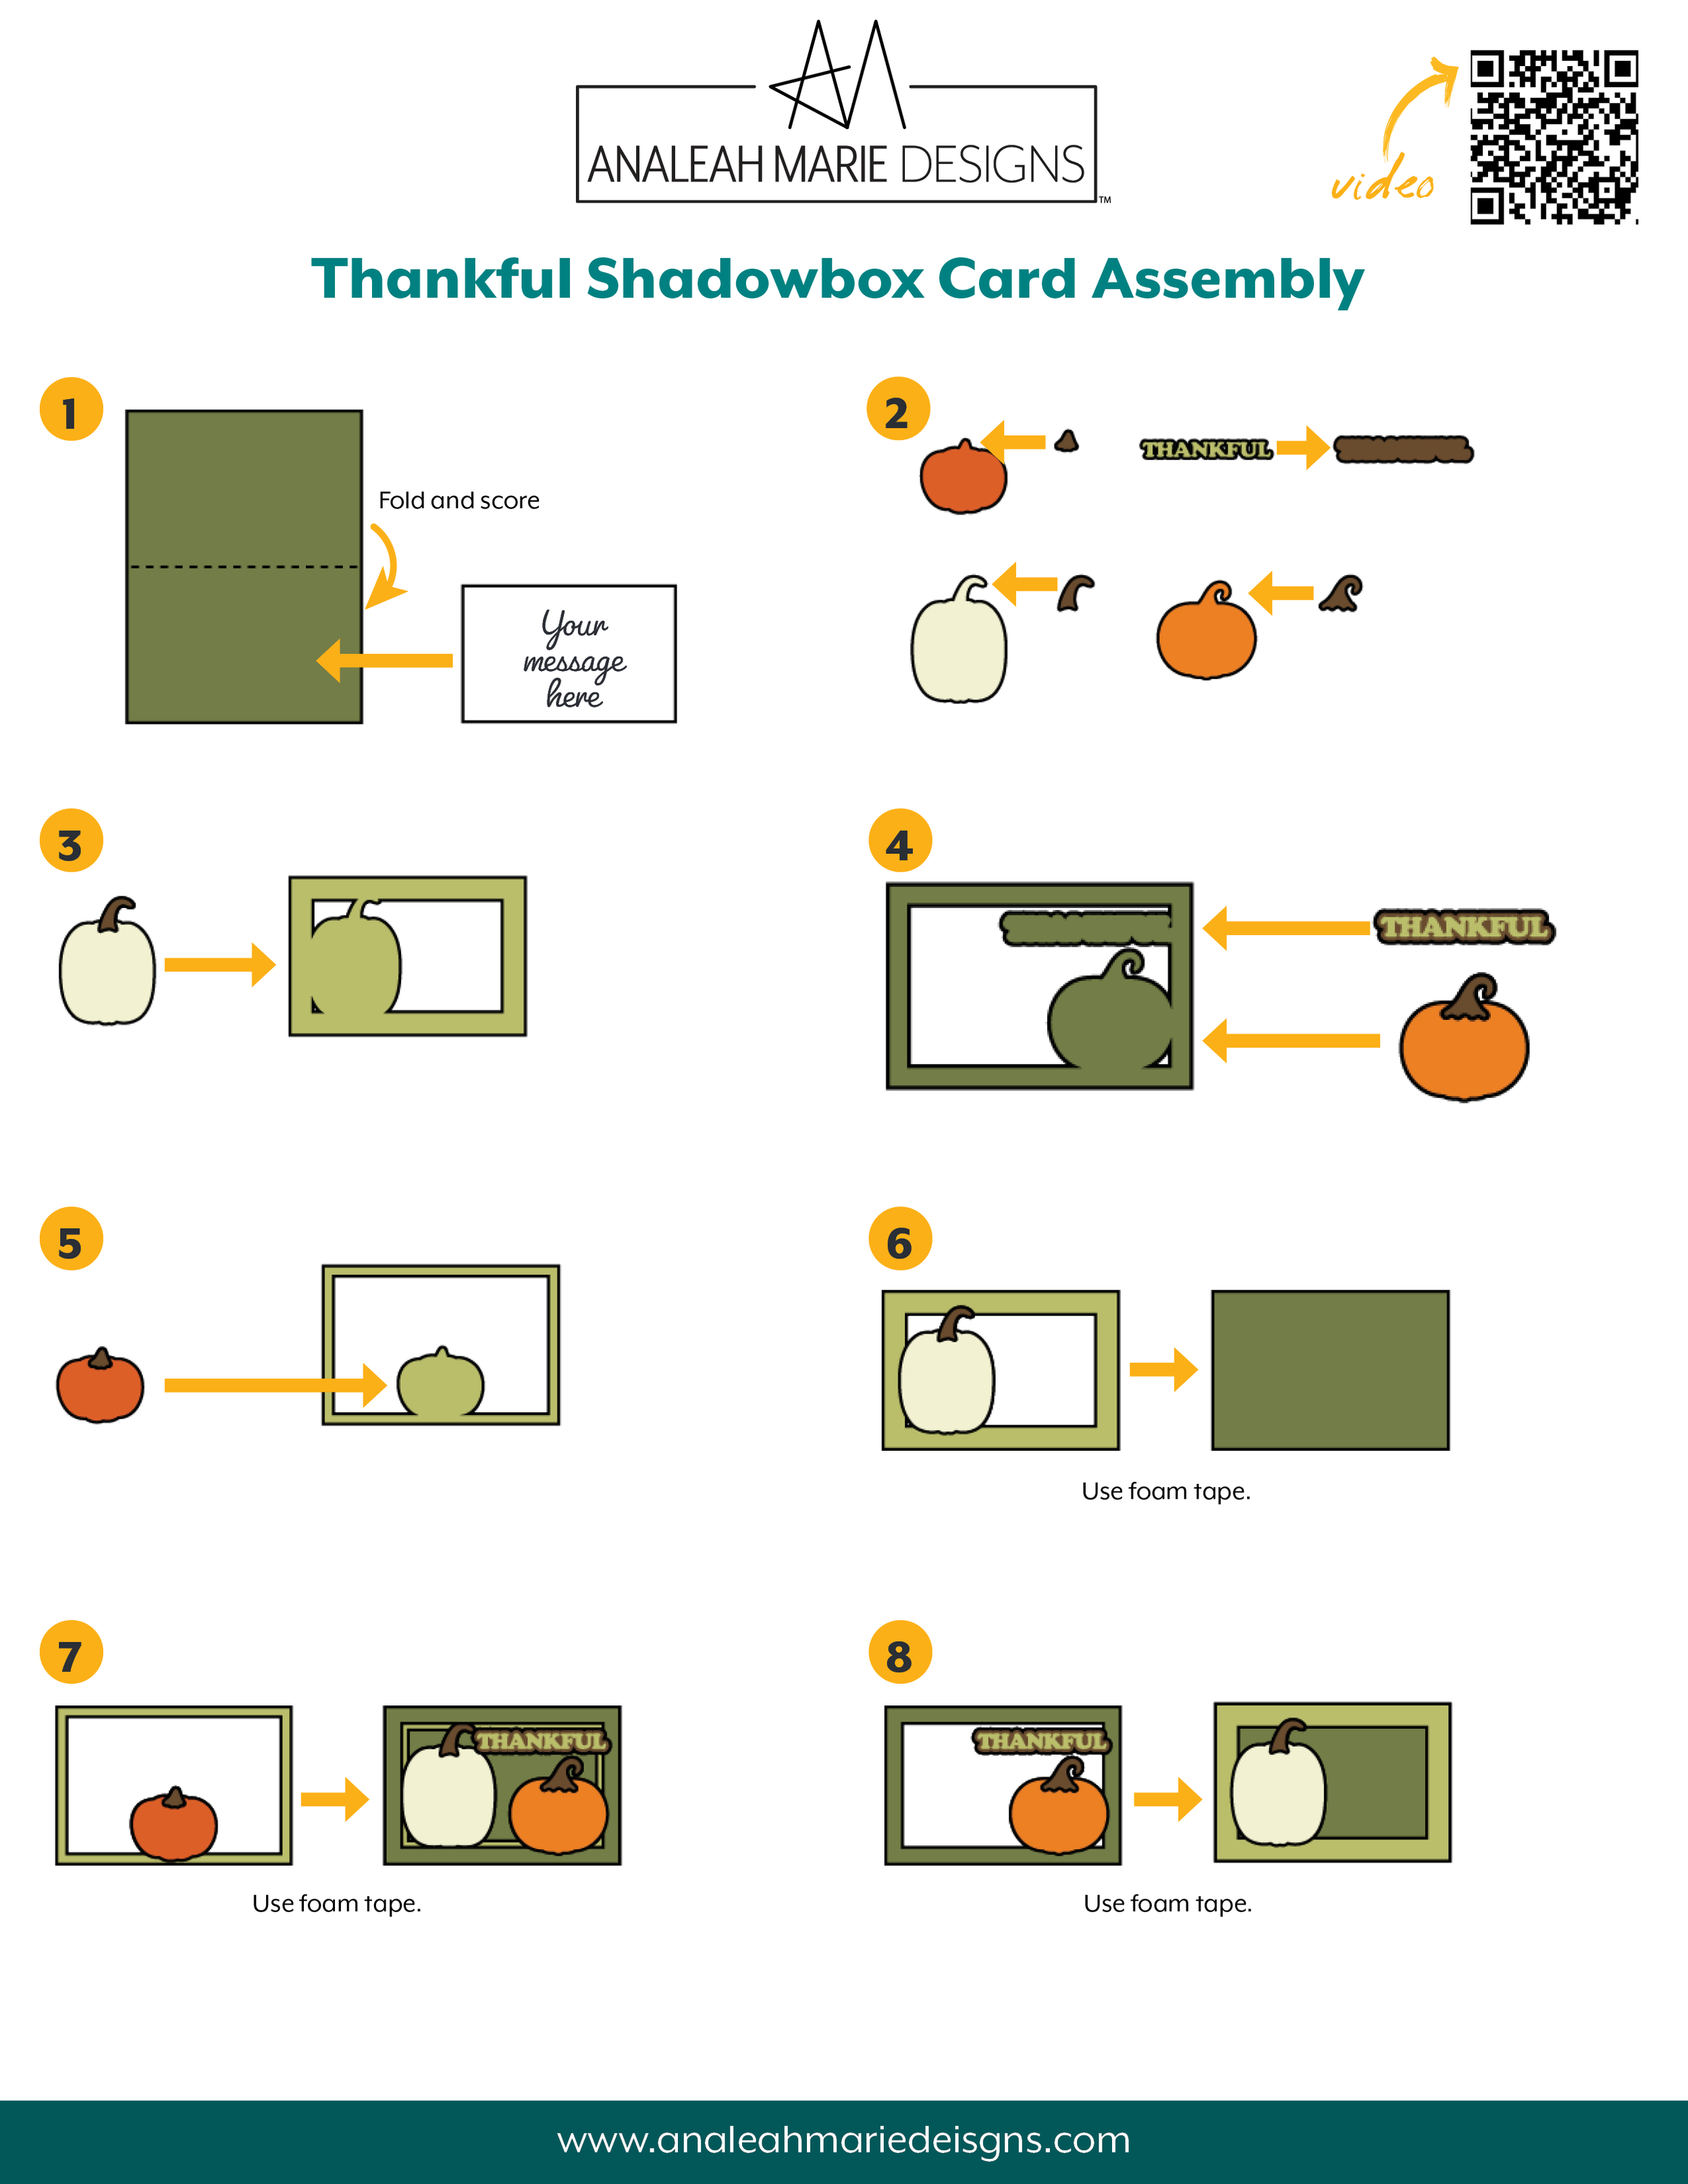
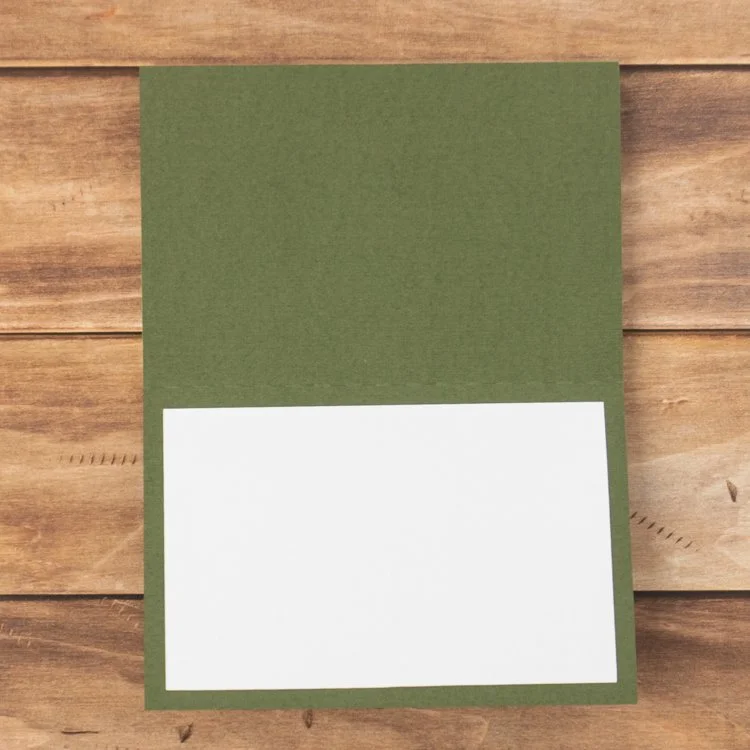
Fold and score the card base. Attach the smooth white insert inside the card.
Glue the stems on the pumpkins. Glue the text pieces onto their backing.
Glue the string of Christmas lights to the first frame layer.
Glue the text onto the second frame layer.
Using foam tape, attach the first frame layer to the front of the card base. Make sure to add foam under the lights to support them.
Using foam tape, attach the second frame layer on top of the first frame.
Using foam tape attach the red third frame layer on top of the second frame.
This card fits in my 4×6 box envelope. You can purchase the envelop cut file on Etsy or the Silhouette Design Store.
If you like this card, check out the full shadowbox card collection!