
Pencil Gift Card Holder Assembly
Supplies
Light pink cardstock
Yellow cardstock
Tan cardstock
Dark green cardstock
Green cardstock
Charcoal grey or black cardstock
White cardstock*
Glue or double-sided tape
Foam dots (optional)
*If using textured cardstock for the card, I recommend using white textured smooth cardstock for the panel on the back for your message. If you don’t have smooth white cardstock on hand, you can flip the textured cardstock around and use the back side, which is usually smoother.
I used Lessebo smooth cardstock for this card in the following colors:
Flamingo
Kelly Green / Bright Green
Evergreen / Hunter Green
Sunflower
Sahara
Blackbird
White
I like this cardstock because it is heavier at 83 lb. and is very soft and smooth. Because of this, it cuts well. It is sometimes hard to find all the colors for sale at the same place, though. And sometimes there is variation in the color names (like for the green shades that I used here).
You can find Lessebo smooth card stock online at:
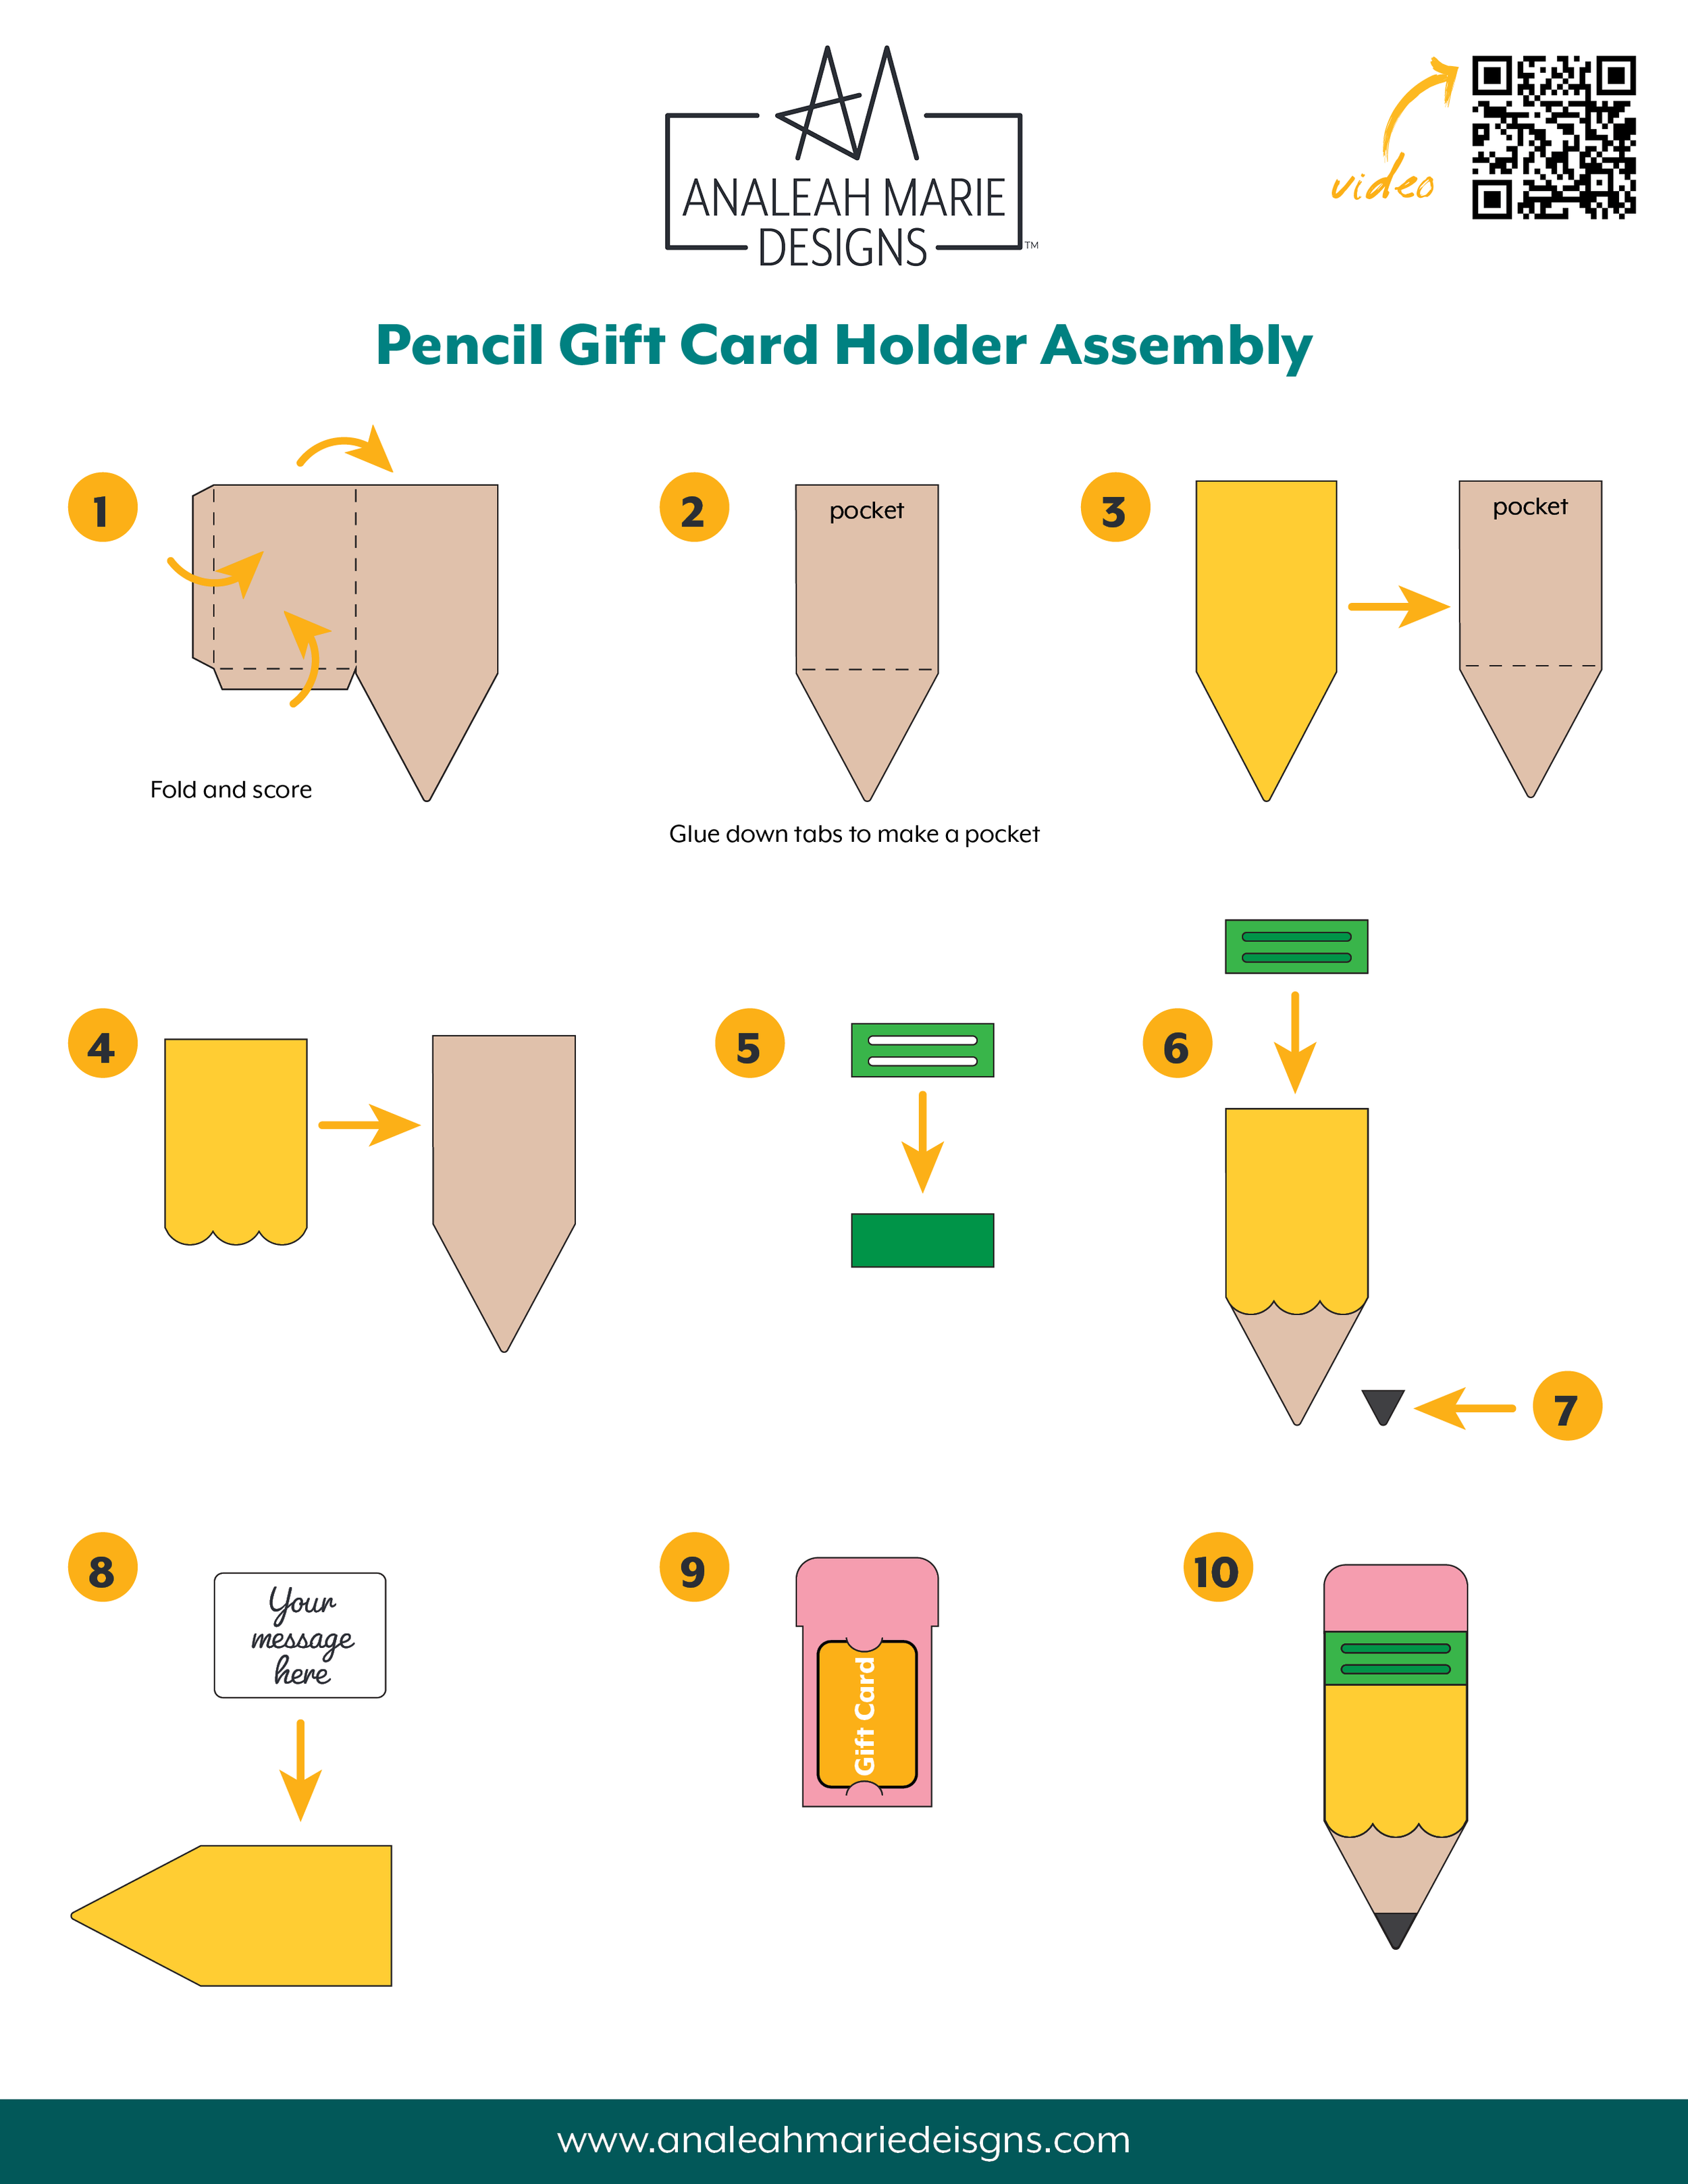
Assembly Steps
Fold and crease the side tabs on the base. Then fold and crease the pocket flap over the pencil.
Add glue to the tabs and fold them over the pencil base. This creates a pocket.
Glue the full yellow piece back panel on the pencil base so that it covers the pocket.
Tip: Stack the pieces vertically, with the flat edge on the table and tap down with your hands holding the sides in place. This will align the pieces.
Glue the yellow scalloped piece on the front of the card.
Glue the two green pieces of the ferrule together.
Glue the ferrule to the pencil, lining up the edge with the top of the pencil where the pocket opening is.
Glue the black/dark grey triangle on the tip of the pencil
Write your message on the white card and glue it on the back, centering in the rectangular area.
Tip: Use the sketch feature on your machine to write the message before cutting the piece.
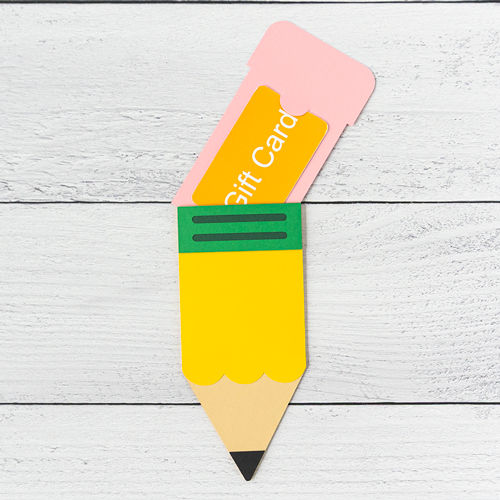
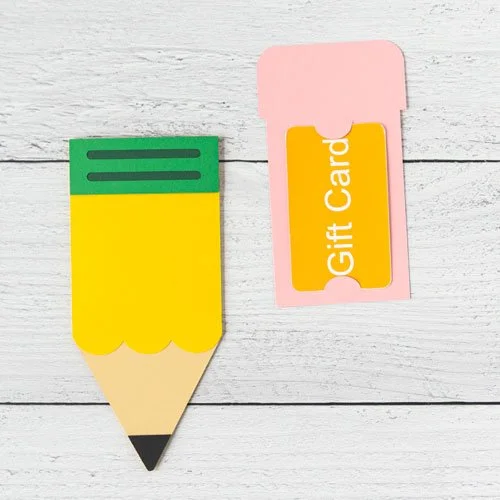
Tuck your gift card into the tabs on the cup insert.
Slide the insert with the gift card into the pocket in the pencil base.
A ferrule is the metal sleeve that joins the eraser to a pencil or bristles to a paint brush.

Some links in this post may be affiliate links. This means I may earn a small commission at no extra cost to you. I only share tools I genuinely use and love.