
Hello Fall Shadowbox Card Assembly
Supplies
Don’t have this design yet? Get it on Etsy or the Silhouette Design Store.
White cardstock (if using textured cardstock, you will also need smooth white cardstock for the inside of the card)
Olive green cardstock
Sage green cardstock
Bright purple cardstock*
Dark purple cardstock
Dark orange cardstock
Bright orange cardstock
Dark yellow cardstock
Light yellow cardstock
Dark brown cardstock
Light brown cardstock
Glue
Double-sided foam tape (narrow)
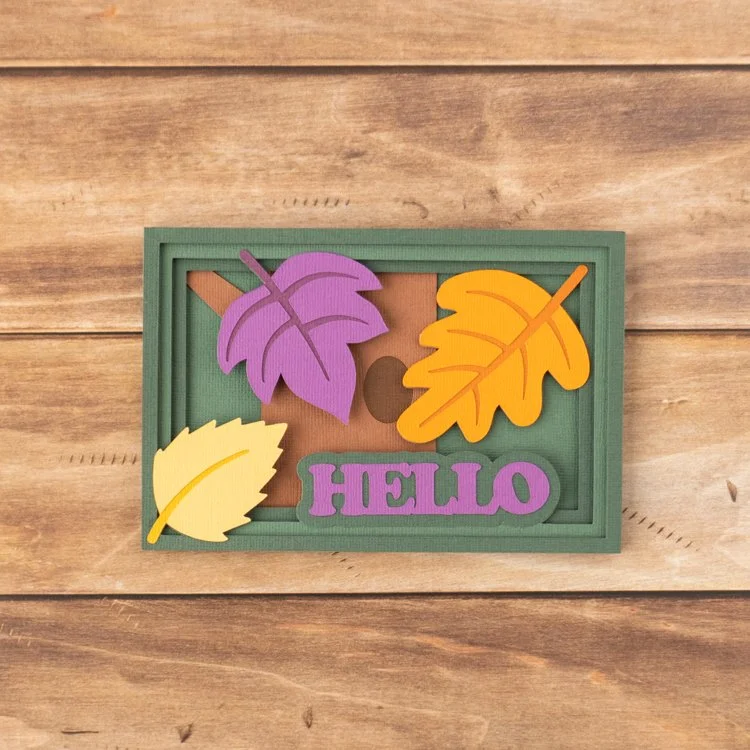
I used Encore textured cardstock from 12×12 Cardstock Shop for this card in the following colors:
Pine Bough
Aspen Green
Gingerbread
Maple Syrup
Mardi Gras
Dusty Purple
Mandarin Orange
Apricot Jam
Maize
Golden Amber
*When I designed this card, I was intending to use Wild Orchid cardstock for the bright purple and Mardi Gras for the darker purple, but I didn’t have any Wild Orchid on hand so I ended up using Mardi Gras for the brighter purple color, which is a tad too dark with the greens on this card. If you have a brighter color to use, it will make the leaf and ‘Hello’ pop more.
Assembly Steps
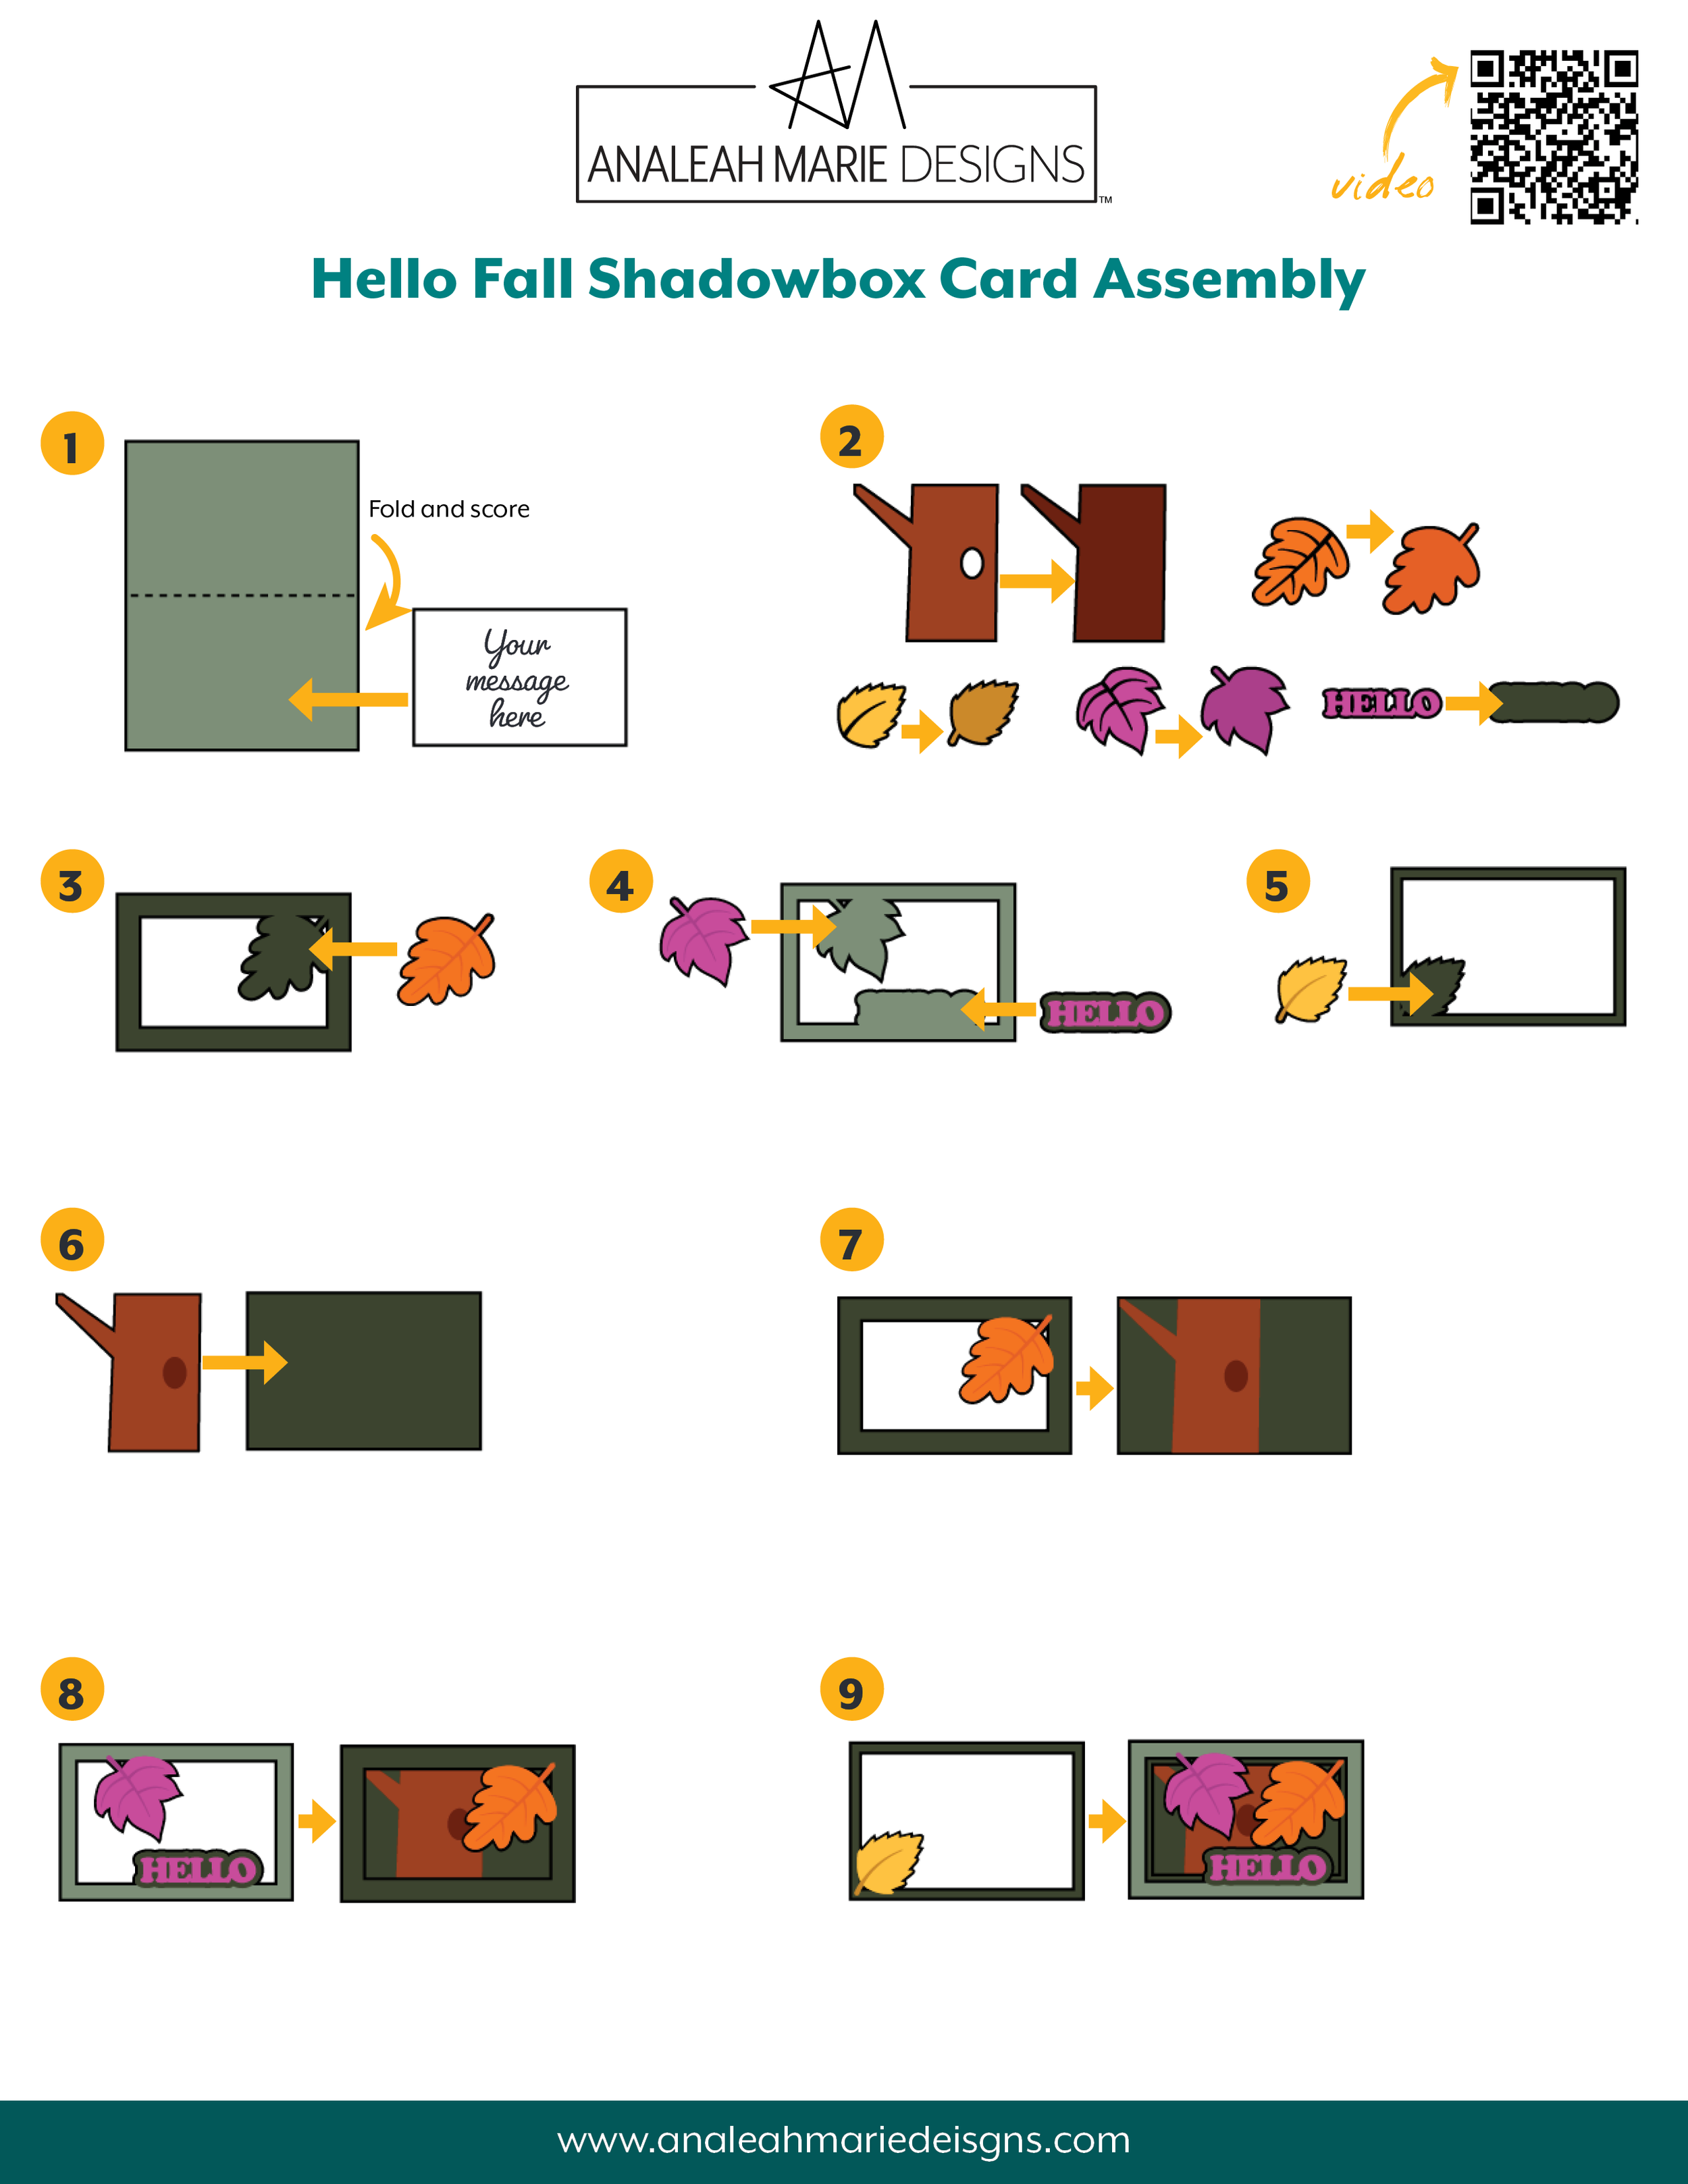
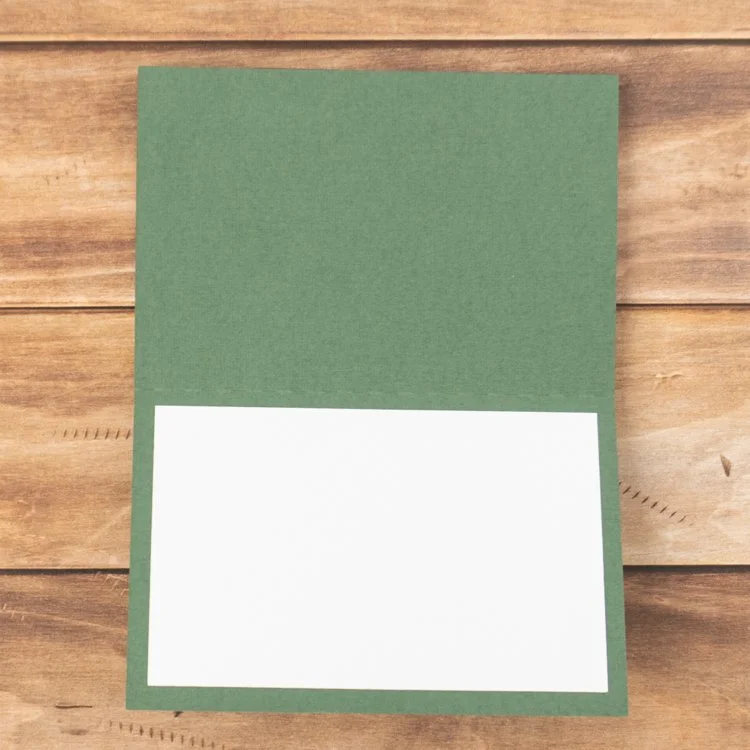
Fold and score the card base. Attach the smooth white insert inside the card.
Glue the tree trunk, leaves, and text pieces together.
Glue the orange leaf to the bottom frame layer.
Glue the purple leaf and text to the middle frame layer.
Glue the yellow leaf to the top frame layer.
Glue the tree to the front of the card, lining up the branch in the top left corner.
Using foam tape, attach the bottom frame to the front of the card over the tree. Make sure to put some supporting foam under the leaf.
Using foam tape, attach the middle frame to the front of the card. I recommend adding a double layer of foam to support the leaf.
Using foam tape, attach the top frame to the front of the card. This time, stack three layers of foam under the leaf.
This card fits in my 4×6 box envelope. You can purchase the envelop cut file on Etsy or the Silhouette Design Store.