
Haunted Ghost Flyout Popup Card Assembly
Supplies
Don’t have this design yet? Get it on Etsy or the Silhouette Design Store.
Black cardstock
Purple cardstock
Green cardstock
Grey cardstcok
Smooth white cardstock
Glue
Bone folder or the side of pen/pencil
I used Encore textured cardstock from 12×12 Cardstock Shop for this card in the following colors:
Mardi Gras
Grass Hopper
Dolphin
Jet Black
I used the Encore smooth cardstock in Snowy White for the message panel inside the card.
Assembly Steps
Fold and crease the card base.
Glue the face on the gosht. The left eye goes on the left of the score line. The mouth and right eye go on the right of the score line. Do not cover the score line.
Fold and crease the ghost along the center line.
Fold the flyout mechanism in half and crease in both directions.
Fold and crease the tabs on the flyout mechanism.
With the flyout mechanism folded in half, fold and crease along both diagonal score lines.
Open the flyout mechanism and hold it on both sides between your fingers. Push the flyout mechanism towards you in the center above the lower score line. This folds the mechanism forward.
At the top of the flyout mechanism, push it backwards to create a valley just above the top score line.
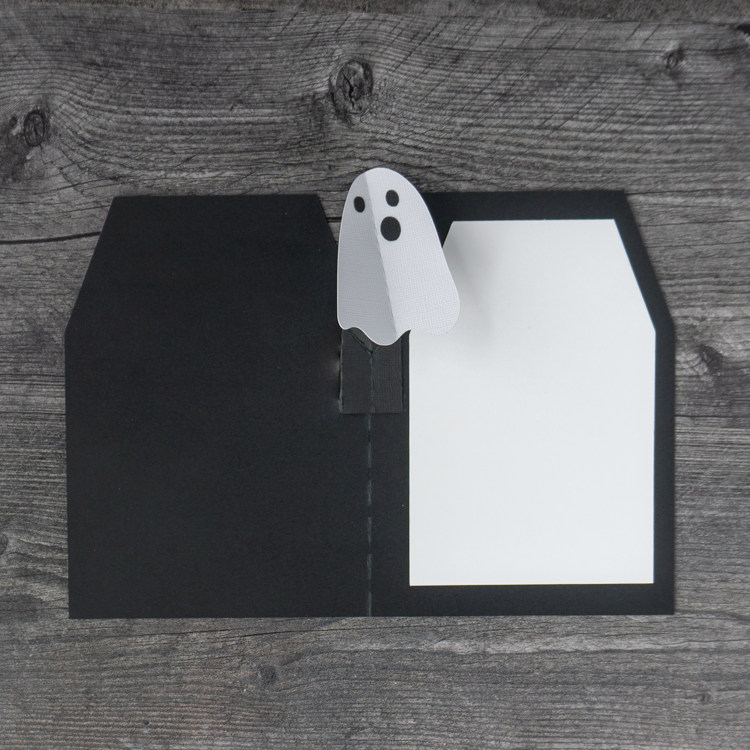
Add glue to the sides of the valley at the top of the flyout mechanism and sandwich the ghost inside, making sure that the crease of the ghost sits right up against the crease of the valley in the flyout mechanism. Pinch together until dry. You can set it aside and put something heavy on top to hold it while drying.
Add glue to the tabs on the flyout mechanism. Glue the fly out mechanism at the top of the inside of the card base lining up the center score lines of the card base and flyout mechanism. Push the crease of the flyout mechanism into the crease of the card. Close the card and press to adhere.
Clean up any excess glue inside the card. Close the card and place something heavy on the card to hold it closed while the glue dries.
Glue the white house piece inside the card so that there is an even boarder all the way around. The left side should be push up against the side of the flyout mechanism, but not covering it.
Glue the green circular window piece on top of the black circle.
Glue the small green circle on the door about half way up the right side.
Glue the circular window on to the door centered at the top.
Glue the left fence piece on the front of the card so that it is flush with the left side and bottom of the card. (You can use either fence piece.)
Glue the door to the front of the card, lining up the left side against the edge of the fence piece and the bottom of the card.
Glue the right fence piece on the front of the card, lining up the left side against the edge of the door and the right side and bottom of the card.
Layer the scalloped roof pieces on to the front of the card. Starting with the longest piece, line up the corners with the corners on the card. Then glue the next widest piece using the sides to position in the correct place. It may be helpful to open the card and just hold it by the front. Continue with the last two roof pieces. The top piece aligns with the top of the card.