
Ghost Shaker Card Assembly
Supplies
Don’t have this design yet? Get it on Etsy or the Silhouette Design Store.
White or light grey cardstock (if using textured cardstock, you will also need smooth white cardstock for the inside of the card)
Black cardstock
Clear acetate
Glue
Double-sided foam tape (1/4 inch tall recommended)
Shaker filler
I used Encore textured cardstock from 12×12 Cardstock Shop for this card in the following colors:
Snowy White
Jet Black
I used the Encore smooth cardstock in Snowy White for the message panel inside the card.
For the shaker filler, I used mix of Buttons Galore Doo Dadz in Polar Wind and Sprinkletz in Haunted.
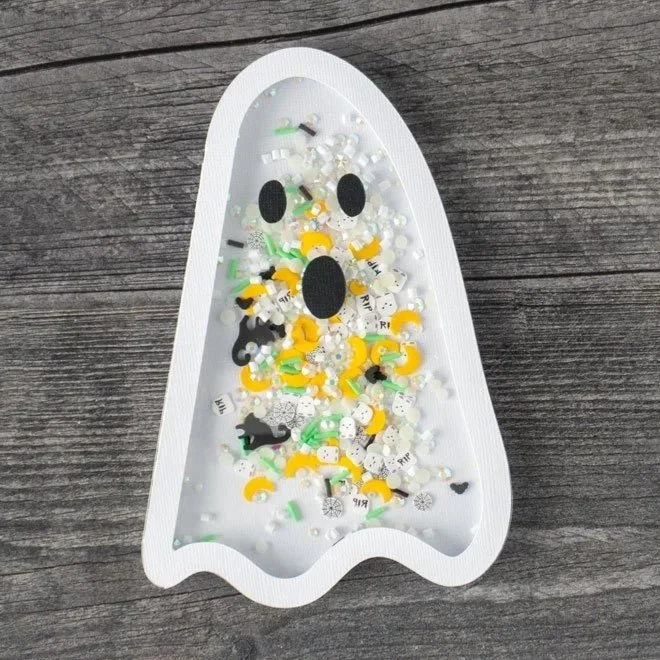
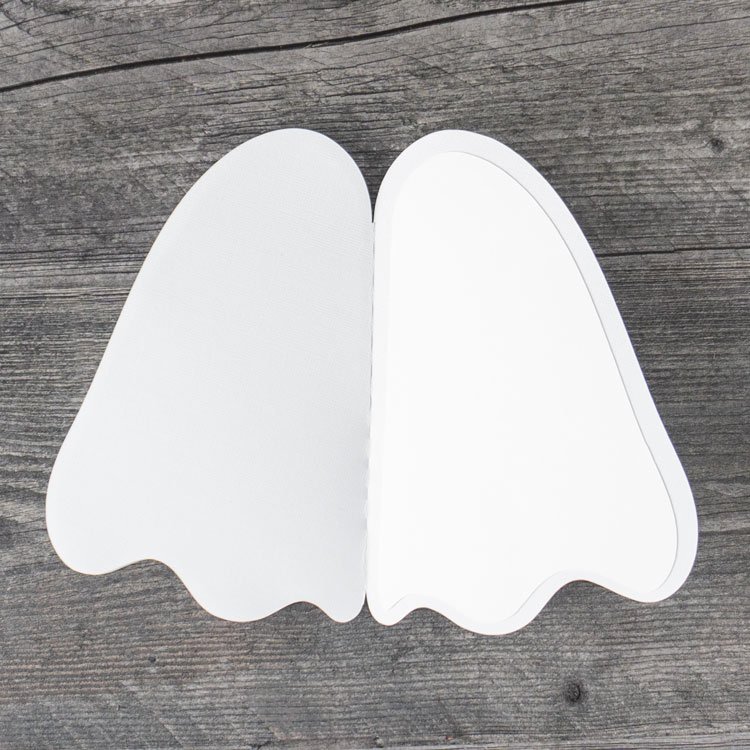
Assembly Steps
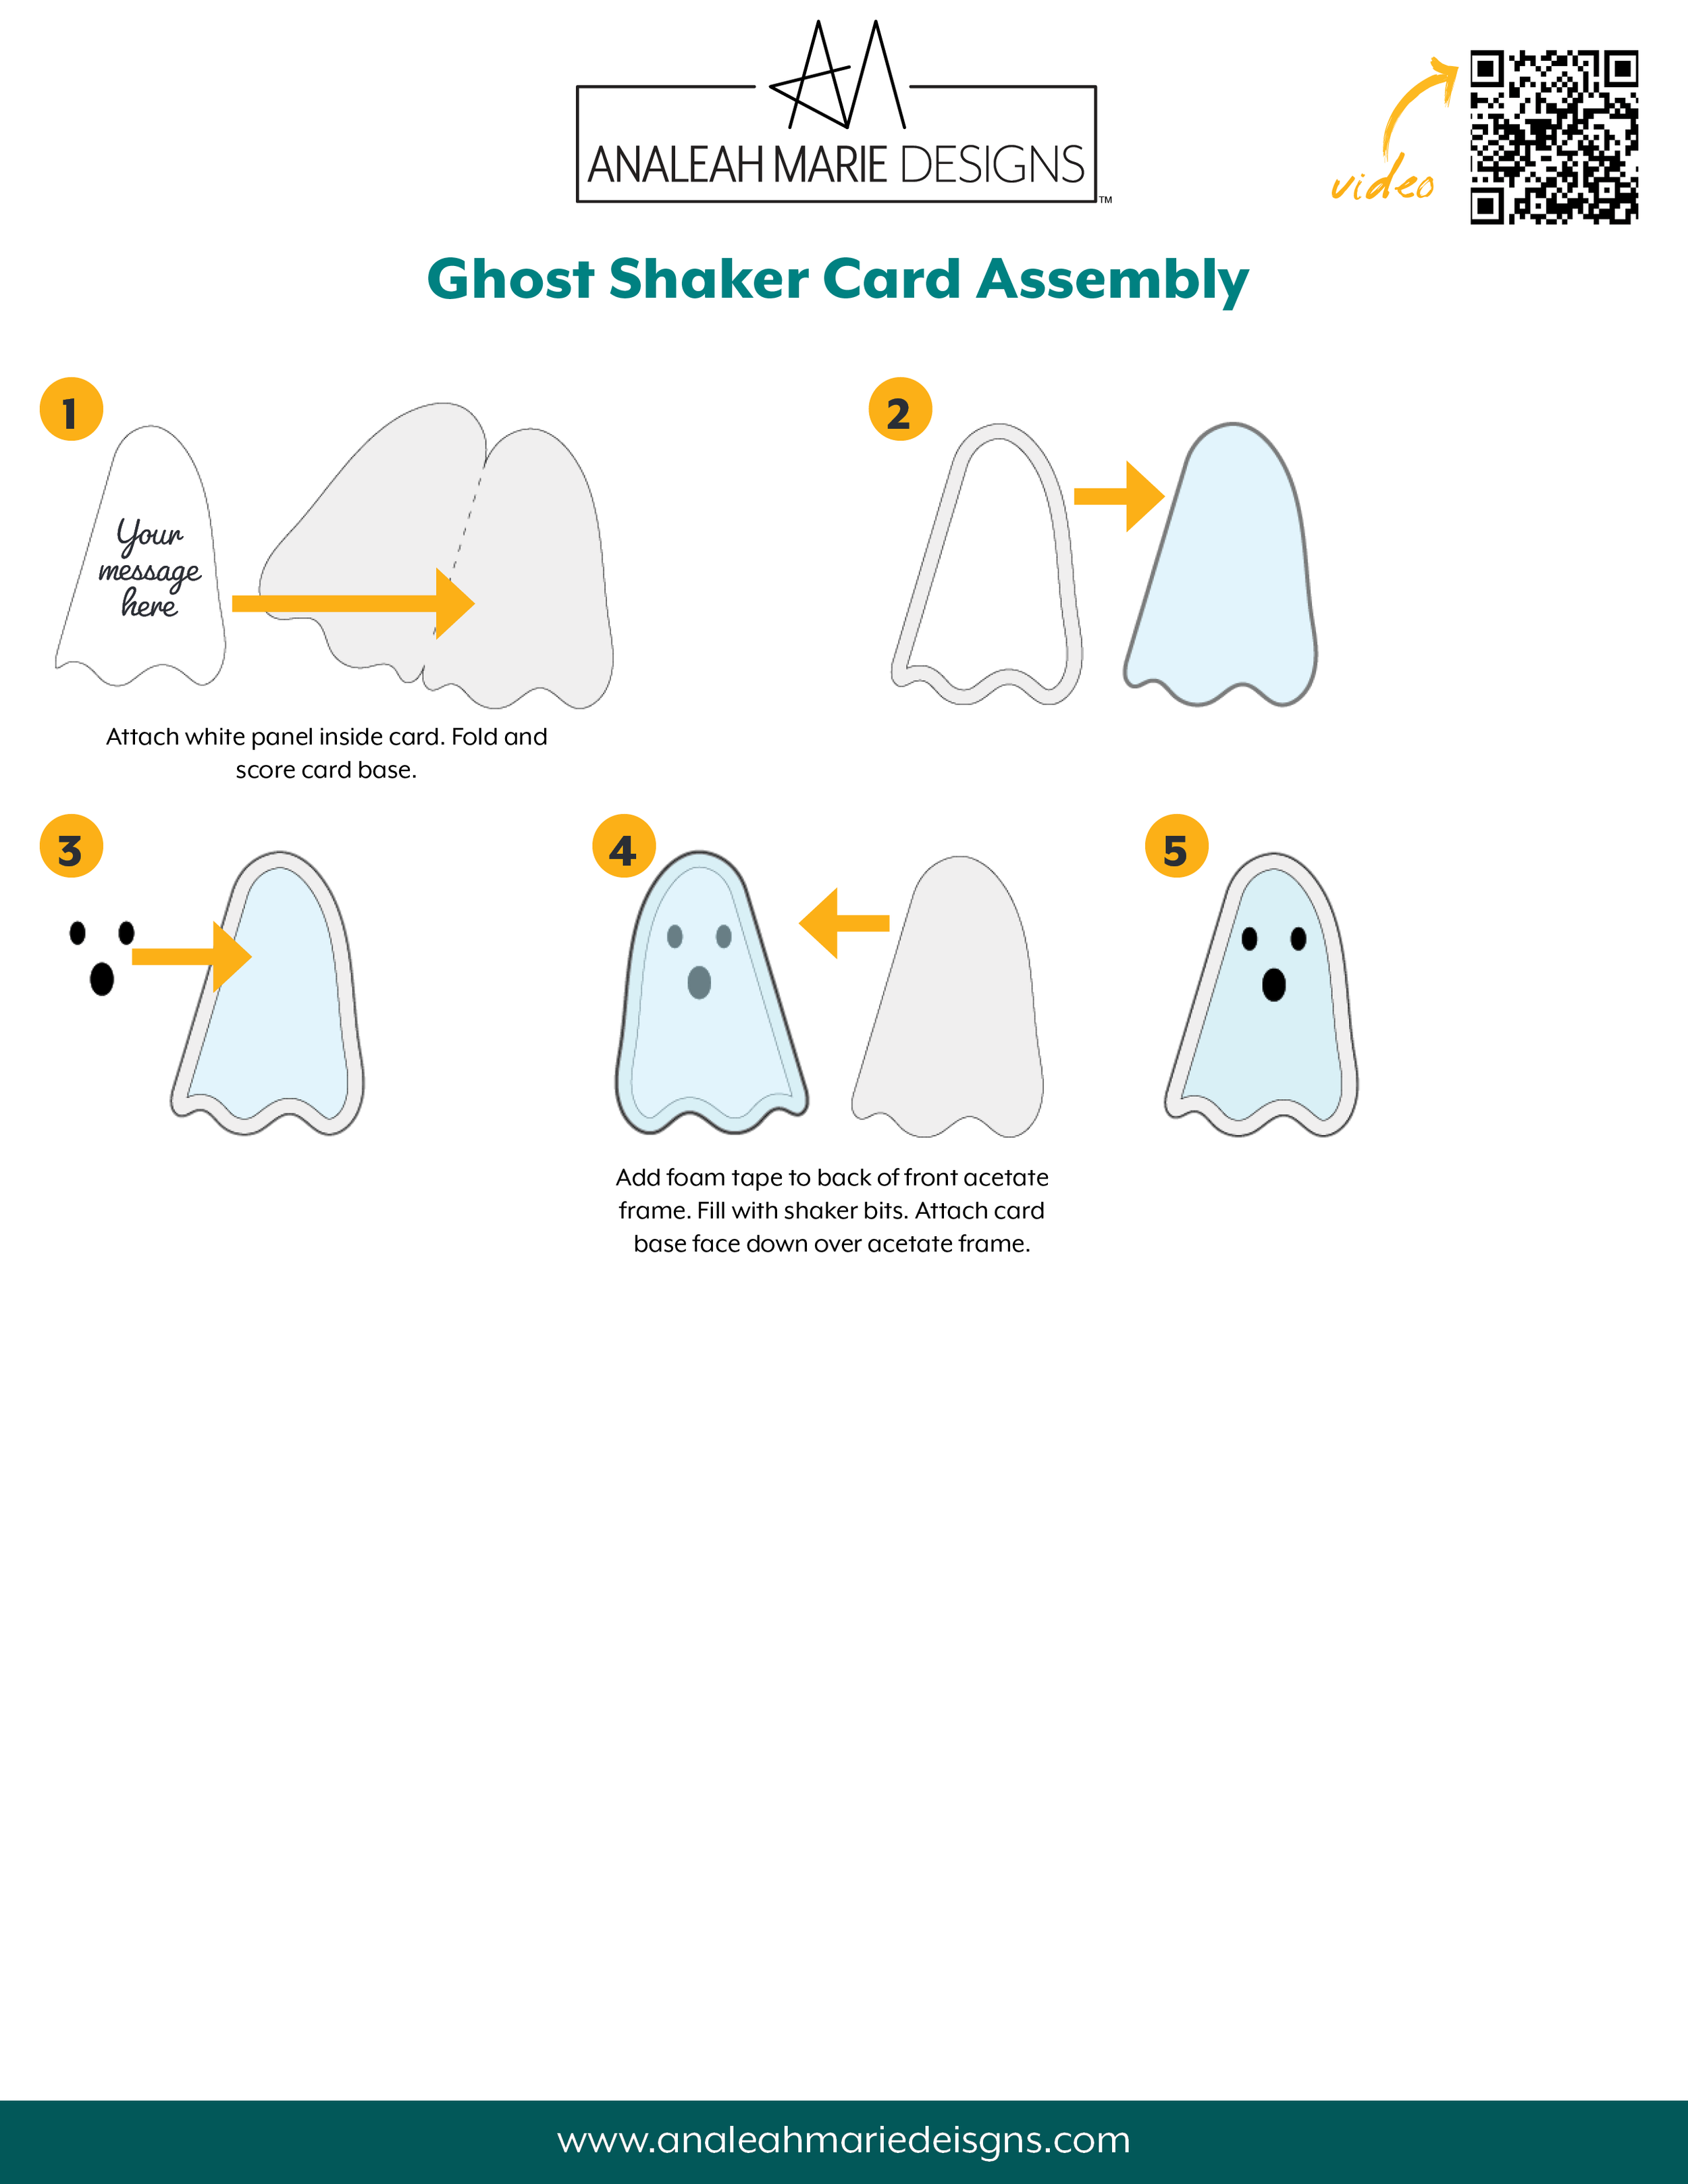
Attach white message panel inside the card. Fold and crease the card base.
Glue the acetate to the inside of the orange frame. Make sure to remove any protective layers on your acetate before gluing.
Glue the face onto the front of the acetate.
Tip: You can cut the face on black adhesive vinyl if you don’t want to glue the three separate face pieces.
Line the entire inside (acetate side) edge of the frame with double-sided foam tape, being careful not to leave any gaps. Do not remove the protective layer from the top of the foam yet! Fill your frame with shaker bits. Then gently peel the protective layer off the foam tape. Carefully place the card face down over the frame and press to adhere to the foam tape.
Shake your card!